Open Plan Kitchen Extensions: Design Ideas That Actually Work
The open-plan kitchen extension has become the single most requested home improvement in the UK. And for good reason; done well, it transforms the way a family lives, creating a social hub where cooking, eating, working, and relaxing happen naturally within one generous, light-filled space. But "open plan" doesn't mean "knock down every wall and hope for the best." The most successful open-plan kitchens are carefully designed with distinct zones, considered sight lines, and thoughtful details that make the space feel unified but not overwhelming.
Why open plan works for families
The traditional UK terraced house was designed for a very different way of living; a small, separate kitchen at the back, a dining room in the middle, and a front parlour reserved for best. Modern family life doesn't work like that. Parents want to cook while supervising homework. Families want to eat together without retreating to a separate room. Weekend entertaining flows from kitchen to garden. An open-plan extension responds to all of these needs by removing the barriers between kitchen, dining, and living areas, creating one connected space that the whole family can use simultaneously.
Zoning strategies: kitchen, dining, and living
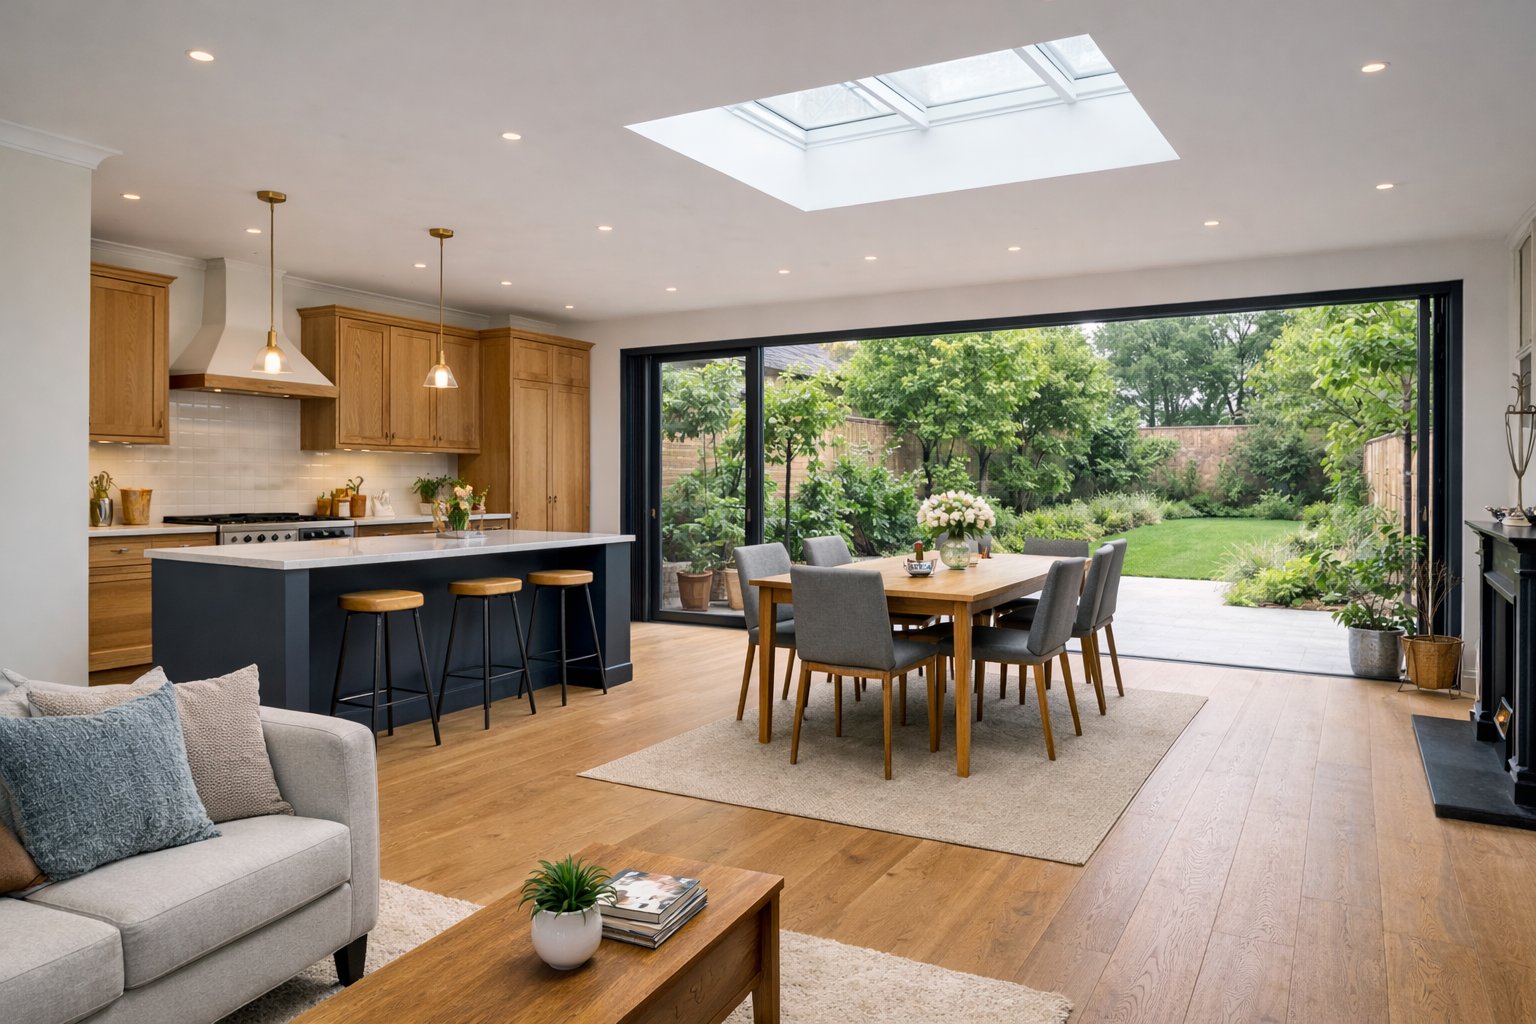
The secret to a successful open-plan space is defining zones without using walls. The kitchen zone should be positioned closest to the utilities (for practical plumbing and drainage), the dining zone in the centre where it's accessible from both the kitchen and the living area, and the living/seating zone at one end; often the garden end where large doors create a connection to outdoor space. You can define zones through changes in ceiling height (a dropped bulkhead over the kitchen), flooring material (tiles in the kitchen, timber in the living area), lighting (pendants over the island, recessed spots in the kitchen, floor lamps in the living zone), and furniture arrangement (a sofa positioned at right angles to create a natural room divider).
Island placement: the rules that matter
A kitchen island is often the centrepiece of an open-plan extension, serving as a prep area, breakfast bar, social focal point, and visual separator between the kitchen and dining zones. The critical dimension is clearance: you need a minimum of 900mm between the island and any surrounding units or walls to allow comfortable movement. If you have seating on one side (bar stools), allow 1,000–1,100mm on that side. An island works best when it's at least 2,400mm long and 900mm deep; anything smaller feels like a token gesture rather than a functional workspace. Consider integrating the hob into the island so the cook faces the room rather than staring at a wall.
Bi-fold doors vs sliding doors
The choice between bi-fold and sliding doors is one of the most debated decisions in any kitchen extension. Bi-fold doors fold and stack to one side, creating a completely open aperture that blurs the boundary between inside and outside. They're dramatic when fully open but can feel draughty in winter if not well specified. Sliding doors (either double-track or pocket sliding) are more discreet, thermally efficient, and don't take up any internal space when open. They also tend to be cheaper. Our recommendation: for openings up to 3 metres, sliding doors are usually the better choice. For wider openings (4–6 metres), bi-folds create a real wow factor. Consider your garden orientation; south-facing gardens benefit most from the full opening of bi-folds.
Flooring transitions
In an open-plan space, flooring choices need to work across different zones. The purist approach is one material throughout; large-format porcelain tiles or engineered timber; which creates visual continuity and makes the space feel larger. If you want different materials (tiles in the kitchen for practicality, timber in the living area for warmth), the transition needs to be handled carefully. A flush brass or aluminium threshold strip works well. Avoid step changes; they're a trip hazard and look clumsy. Underfloor heating is highly recommended in open-plan extensions, as there's no room for bulky radiators and the even heat distribution works perfectly with the large floor area.
Structural requirements: removing load-bearing walls
Creating an open-plan layout almost always involves removing load-bearing walls, which requires structural steel beams (RSJs) to transfer the load safely. This is not a DIY job; a structural engineer must design the steelwork and a qualified builder must install it. The beams are typically concealed within the ceiling or a bulkhead, but they can be left exposed as a design feature if you prefer an industrial aesthetic. The size of the steelwork depends on the span and the load it carries; a beam spanning 4 metres to remove a rear wall might weigh 100–200kg. Your builder will need a crane or specialist lifting equipment to position it.
Removing a load-bearing wall without proper structural support is extremely dangerous and illegal. Always commission a structural engineer to design the steelwork before any demolition begins. A typical RSJ for a 4-metre opening costs £1,500–£3,500 for supply and installation. This is not an area to cut corners; the consequences of failure are catastrophic.
Lighting design tips
- Layer your lighting: combine task lights (over worktops), ambient lights (recessed or surface-mounted), and accent lights (pendants over the island, under-cabinet strips).
- Use separate circuits for each zone so you can control the mood; bright for cooking, dimmed for dining, ambient for evening relaxation.
- LED strips under wall units and kickboards add depth and warmth without visible fittings.
- Statement pendants over the island or dining table create a focal point and help define the zone.
- Consider the natural light too; position the working kitchen where it gets the most daylight, and use rooflights to brighten the middle of a deep floor plan.
Ready to start your project?
Whether you're planning an extension, loft conversion, or full renovation, our team can guide you from first sketch to completion.